By Online Cloud Security | Last Updated on September 21, 2021

With cyber attacks happening every 39 seconds, you need to fully protect your Windows 10 laptop, which is why we have made these steps on how to install antivirus on your Windows 10 laptop. It will be done using Microsoft’s built-in antivirus software Windows Defender (Free), Bitdefender Antivirus Plus (Paid), and Norton AntiVirus Plus (Paid).
Windows Defender is Microsoft’s built-in malware protection new Windows 10 laptops and PCs, and it has been for quite some time now. If you’re running an up-to-date version of Windows 10, this should already be enabled by default.
Here are step-by-step tutorials on how to install antivirus on a Windows 10 laptop that is vital to ensuring that your computer is protected from significant damage.
Click the Windows logo  on the bottom left corner of your Windows 10 laptop. Scroll down to ‘Windows Security’ and click on it.
Click on Virus & threat protection, click on the blue shield with the downward-facing arrow and select Virus & threat protection settings.
On this page, click on the box in the top right corner that says ‘Turn on Windows Defender Antivirus’ and then click on ‘Next.
Click on ‘More Options’ beside the drop-down menu at the bottom of your screen. Then select ‘Set up my antivirus software now’.
Select ‘Install my antivirus software now’ and then click on next. Microsoft Windows Defender will start downloading onto your computer. At this point, you can press Cancel if you wish to exit out of Windows Defender Antivirus and continue with this guide using another method.
Once the download is complete, select ‘Next’ to install. Select ‘Finish’ to complete the installation process. Then click on ‘Yes’ if you wish to turn on Windows Defender Antivirus now.
At this point, you will be shown a screen asking if you would like to keep Windows Defender Antivirus active after restarting your computer. You can select ‘Yes’. This means that Windows Defender Antivirus will also continue running after your computer has restarted.

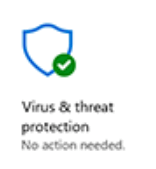
Note: if the blue shield under Virus and threat protection has a green checkmark beside it, then Windows Defender is already turned on, no further steps are required to install this program into your Windows 10 laptop.
There are many different types of antivirus programs available on the market today. Among these, some are free, while others are paid to be installed on your computer. When choosing one, you should take into account how much money you would like to spend and the benefits that each type offers for you. This article will outline the pros and cons of both free and paid antivirus programs to help you make this important decision for your Windows 10 laptop.

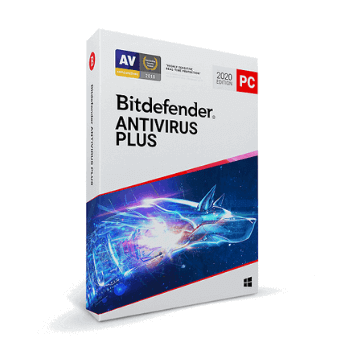
It is now possible to install Bitdefender Antivirus Plus on Windows 10 without any compatibility issues, following several engineering efforts that have been made to enable the product on this new OS.
The post will show you how to install Bitdefender Antivirus Plus on Windows 10 step by step, taking into account all the nuances of this installation process.
First of all, you have to download the Windows 10 compatible version of Bitdefender Antivirus Plus.
After you have downloaded the installation package, you need to run it to start the installation process.
First of all, you will be asked whether or not you want to check for updates through Windows Update. This is highly recommended because your computer’s protection level could be lower than what it should be if no updates are installed.
Additionally, different features can be enabled or disabled in Bitdefender Antivirus Plus right now, depending on your preferences and needs: Safe Files, Default Actions and Home Network Protection are some examples.
You will also be given the possibility to personalize Bitdefender Antivirus Plus according to your preferences, for example by choosing the default action that is carried out when an unknown program is detected.
After clicking on “Install” in the bottom right corner of your screen, you will have to wait a few minutes before the installation process ends. When it does, you will have Bitdefender Antivirus Plus installed on your computer, and you can start using it right away.

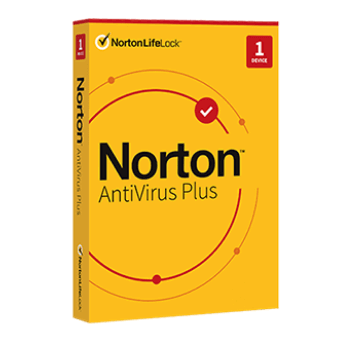
Norton AntiVirus Plus is arguably one of the best and most trusted Antivirus platform for Windows 10 laptops and PCs. Norton Antivirus is compatible with Windows 10, Windows 8, Windows 7, Vista, and XP. Installing Norton AntiVirus Plus on Windows 10 is very easy. It takes just one click to do it. This tutorial will go step by step through the process of installing the Norton AntiVirus Plus software, and you can use it to install your copy of this Antivirus software on your computer.
Double-click the file to begin the installation process.
Follow any additional instructions that may appear during the installation process.
The Norton Setup Wizard will open when installation is complete; you can close the wizard after you’ve completed your configuration tasks if desired.
To begin using Norton AntiVirus, click on the Norton AntiVirus button on the Windows taskbar.
When you first start a new scan, a welcome screen will open that opens a few programs and also displays your product key.
If you didn’t purchase Norton Antivirus Plus before installing this program to your Windows 10 laptop, you can purchase a product key from the Welcome screen to activate your copy of the security software. A valid product key is required for activation. You can purchase one online or from any retailer that sells software products with printed product keys.
It is common for people to use their laptops without antivirus software installed. This is one of the fastest and easiest ways to get your computer in trouble and leave it vulnerable to all sorts of malware and spyware infections.
It is also a common mistake among newcomers in the IT field. More often than not, they install anti-virus on their laptops when they go home from work or school, thinking that they’ll be safe then because their computers are shut down that way. However, this just leaves them more susceptible when working at home or in public because even though the laptop was running when it was left unattended, there’s no protection against something like keylogger malware.
To ensure that your laptop is completely safe from any cyber attacks, you have to get anti-virus protection running on your laptop at all times. This article shows you how to install anti-virus software on your Windows 10 laptop.
After Windows Defender has been installed, you will be asked if you would like to change the default homepage feature. Click No because this is a security feature. Click Install and wait for the installation to finish before clicking Finish again.
If you want to enable or disable Windows Defender integration with Microsoft Security Essentials, go to Control Panel & Programs & Turn Windows Features On or Off, then select Microsoft Security Essentials and click OK.
To prevent any changes in your web browser settings, go to Control Panel & Programs & Add/Remove Programs & Add/Remove Windows Components, then select Internet Explorer and click Remove.
Disclaimer: Before you get all worried about turning off antivirus software on your Windows 10 laptop, think about this. If you are running some sort of malicious software on your computer, then it is unlikely that any anti-virus program will be able to stop it. If you are not running any malicious software, then installing antivirus software is the best thing that you can do to keep yourself safe from them.
Also note that we highly recommend downloading a PAID antivirus software for your Windows 10 laptop since it is the most safest way of protecting your laptop, don’t try to go cheap and download any “free” antivirus program on the internet, some of them may have malware attached to them!
**Onlinecloudsecurity.com is a participant in the Amazon Services LLC Associates Program, an affiliate advertising program designed to provide a way for websites to earn advertising revenues by advertising and linking to Amazon.com and affiliated sites. As an Amazon Associate we earn affiliate commissions from qualifying purchases.**
We hoped you enjoyed this article on why it is important to keep your laptop secure, and as always, share this article on social media and make sure to follow us on Pinterest for more helpful tips on Online Security for your laptop!
Click any button down below to share this article on the following channels:

Online Cloud Security is here to recommend you the most secure devices, from laptops to smartphones, we only want to provide you with products that we have tested and used ourselves for online security. Every product that we recommend is heavily inspected and tested for security against hackers, viruses, malware, and any other intruders that may want to steal your information.

Online Cloud Security is here to recommend you the most secure devices, from laptops to smartphones, we only want to provide you with products that we have tested and used ourselves for online security. Every product that we recommend is heavily inspected and tested for security against hackers, viruses, malware, and any other intruders that may want to steal your information.
Your Trusted Source for Online Security